Supercharge Your DIY Toolkit: Narrowing Down on Cost-Effective Tools
Welcome, DIY enthusiasts and savvy savers alike! When it comes to rolling up your sleeves, there's no greater satisfaction than creating, mending, or improving something with your own two hands. Whether you're a seasoned DIY veteran or just dipping your toes into the exhilarating world of do-it-yourself, having a reliable, effective, and cost-efficient toolkit is essential. 🔨🔧
The challenge often lies in curating that perfectly balanced toolkit, filled with quality tools that won’t break the bank. So, we're here to guide you on your quest to supercharge your toolkit without shrinking your wallet. From understanding the essentials of a DIY toolkit, to honing your skills, maintaining your tools and practicing safety, we'll break it all down for you. This way, you get to enjoy your DIY journey while also making smart, economical choices.
So, ready to gear up and save? Let's dive into building your ultimate cost-effective DIY toolkit.
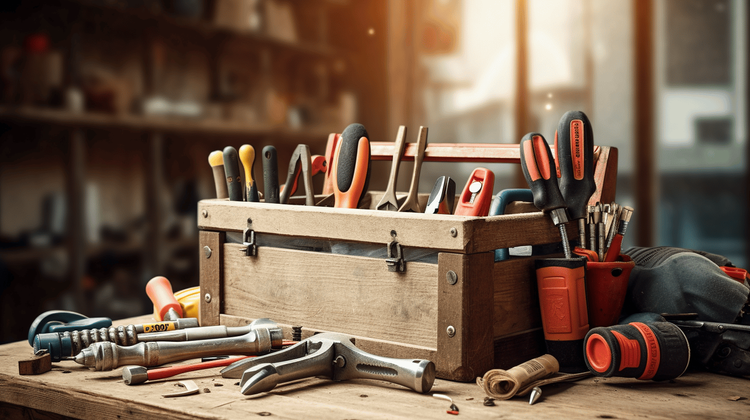
Understanding the Essentials of a DIY Toolkit
Picture this: You had a long day at work, and just as you're settling in for some rest, you find a loose knob on the kitchen cabinet. It's not an emergency, but it's enough to add a little annoyance to your relaxation time. This is where a DIY toolkit comes in handy!
Many times, we find ourselves in situations where a small issue, such as a loose knob, a squeaky door, or a fallen picture frame, can cause a significant inconvenience. With a well-stocked DIY toolkit, you can handle most of these minor repairs yourself!
Most Used Tools
Let's talk about some of the most commonly used tools that you should have in your DIY toolkit.
- Screwdriver: Known as the workhorse of a toolkit, a good quality screwdriver set that includes both flat-head and Phillips-head varieties is a must-have.
- Hammer: Whether it's for nailing pictures to the wall or assembling furniture, a sturdy hammer is crucial.
- Tape Measure: This handy tool is essential for home repair tasks ranging from hanging art in perfect alignment to figuring out if a new piece of furniture will fit in a room.
- Adjustable Wrench: With an adjustable jaw, this versatile wrench is a one-size-fits-all solution for tightening and loosening bolts of various sizes.
- Utility Knife: A sharp utility knife can cover numerous tasks, from cutting through packing tape to trimming wallpaper.
Remember, safety should always be the first priority, so always use these tools wisely and follow the instructions properly!
Why Each Tool is Important
Understanding why each tool is important will help you tackle those DIY tasks with confidence.
- Screwdriver: The screwdriver comes in handy whenever you need to tighten loose screws on everything from eyeglasses to furniture.
- Hammer: The hammer is your go-to tool for any task involving nails. It's also great for minor demolition work.
- Tape Measure: A tape measure ensures you get sizes and distances right the first time, preventing costly errors.
- Adjustable Wrench: The beauty of an adjustable wrench is its versatility, which makes it useful for a wide variety of repairs or installations.
- Utility Knife: This tool is indispensable for tasks that require precision cutting.
Simply put, these tools each fulfill a specific function that makes our life easier. Having a well-stocked toolbox is like having a first-aid kit - an essential part of any household! With a bit of practical knowledge and understanding, even the smallest hands-on task can be accomplished with ease. So the next time you encounter a minor inconvenience at home, remember the essentials of your DIY toolkit and handle it with confidence!
Cost-Effective Choices for DIY Tools
There's a tempting twinkle to the sight of a shiny new tool, isn't there? 🛠️ Whether you're a budding DIY enthusiast or a seasoned home improvement expert, choosing the right equipment for your projects is crucial. However, it's not just about grabbing the most polished shiny item on the shelf. Instead, it's about achieving the perfect harmony between quality, price, and durability. In this article, we explore this sweet spot, helping you navigate the realm of cost-effective DIY tools.
Identifying Value for Money
Your goal shopping for DIY tools should not be to find the cheapest options, but to identify those that provide excellent value for money. These are tools that may not be the least expensive, but whose performance and longevity justify their price tag. Here are some factors you should consider:
- Quality of materials: Tools made from sturdy, high-quality materials will stand the test of time.
- Brand reputation: Companies with a long history of quality and customer satisfaction are usually a safer bet.
- Product reviews: Other users' experiences can offer an honest appraisal of a tool's real-world performance.
But remember! It's not just about where you spend your money; the real trick is understanding where to save 💰.
Affordability Versus Durability
It can be tempting to think that more expensive means better, but this is not always the case. While it's true that robust, durable tools tend to carry a higher price, not all high-priced tools are durable. Conversely, some affordable tools may indeed provide surprising durability. Finding the balance can be a game-changer, so here's what to keep in mind:
- Your needs: Specify your needs clearly. Expensive professional-grade tools are not always the best fit for occasional DIY projects.
- Warranty: Often, tools with a warranty signify a manufacturer's trust in their product. This assurance can sometimes justify a slightly higher price tag.
- Repair and parts: Tools for which parts can be easily replaced are more likely to stand the test of time than those that need to be completely replaced when something goes wrong.
In the battle between affordability and durability, there's a clear winner: you, the consumer who achieves the best of both!🏆
Tips for Purchasing Cost-Effective Tools
As a savvy shopper looking for the best tools for your DIY adventures, the art of finding cost-effective tools is to balance the aforementioned factors and to take advantage of available resources. Here are a few handy tips 📝:
- Research extensively: Familiarize yourself with both the tool types needed for your projects and the brands offering them.
- Subscribe to newsletters: Many DIY stores offer discounts and insider deals to their subscribers.
- Buy sets or kits: Often, purchasing a set of tools or a toolkit is more cost-effective than buying individual items.
- Consider second-hand tools: Gently-used tools can be an excellent bargain if they're well-taken care of.
So, gear up and apply these insights to make well-rounded purchase decisions. Remember, it's not about the money you spend, but about the value you get in return. After all, there's no better reward than the satisfaction of a job well done, powered by the right tools. Let the DIY adventure begin!
Sustainable Practices in DIY Tool Use
Within the world of "do-it-yourself", or DIY, the notion of sustainability goes well beyond mere craftsmanship. It seeps into every aspect - from the choice of materials, down to the maintenance of tools, and responsible disposal. Speaking of which, the wave of mindful DIY tool use is gaining momentum, with enthusiasts constantly seeking to lend their practices an eco-friendly edge.
Maintaining and Preserving Tools
When it comes to sustainable DIY practices, tool maintenance and preservation are valid starting points. With proper care, the lifespan of your tools can be considerably extended, thereby reducing the need for replacements - a win for both your wallet and the environment 🌏.
- pristine doesn't always mean brand new: Rather than running to the store for every broken handle or rusty head, pick up the fine art of tool repair. A few basic skills can restore your toolbox to its former glory.
- storage is key: Diminished tool life is often a result of improper storage. Keep them in a dry, cool place away from moisture and extreme temperatures.
- regular cleaning: Dust, debris, and mineral deposits can erode your tools over time. An occasional cleaning session can keep them in top shape for longer.
- periodic sharpening: Dull blades and worn-out edges? A little sharpening can bring them back to life.
"One must treat his tools with respect, for they are the friends of his craft." - Unknown
Mindful Use and Disposal
While ensuring the longevity of your tools is beneficial, it's critical to do so with vigilance over the more comprehensive environmental impact.
- avoid the unnecessary: Adopt a minimalist approach to tool purchase, and retain only what's essential for your projects. This approach reduces clutter and wastage, making disposal less challenging.
- recycle, reuse, repurpose: When the inevitable happens—when a tool has reached the end of its life—find creative ways to give it a second purpose. Likewise, recycling is another viable way to reduce landfill waste.
- responsible disposal: Most cities have recycling centers or e-waste disposal services that follow eco-friendly standards. Take advantage of these facilities for guilt-free tool disposal.
Tools, much like every other possession, require careful handling and thoughtfulness in disposal. Hand-in-hand with a passion for DIY comes the responsibility of Eco-friendliness. This balance should be an integral part of every DIY journey. By fostering responsible practices today, we safeguard an environment-friendly tomorrow. Embark on your eco-conscious DIY journey with these sustainable practices and watch your toolkit come alive while keeping Mother Nature happy.
Safety Measures for Using DIY Tools
"Don't be a tool, use one - and use it safely!" That's the humorous saying we like to live by when working with DIY projects. As thrilling as it is to grab a hammer and get down to business, there are some important safety measures to remember when using DIY tools. Today, we'll cover everything from general safety guidelines to tool-specific safety measures.
General Safety Guidelines 📋
Who doesn't love the excitement of building and creating with their own two hands? But, as Peter Parker's Uncle Ben wisely said, "With great power comes great responsibility." Therefore, before you fire up your newest gadget, consider these safety tips:
- Use Appropriate Protective Gear: Masks, gloves, goggles – they're not just fashion statements! These items protect your skin, eyes and lungs from dust, allergies, and flying debris.
- Keep a Clean Workspace: Clutter can quickly turn your workshop from a haven of creativity into a danger zone. Make it a habit to clean as you go and keep tools stored properly when not in use.
- Don’t Hurry: Speed might win races, but in the DIY world, patience and meticulousness pay off. Avoid rushing through tasks which could lead to accidents or poorly executed projects.
Remember, haste makes waste (or, in this case, potentially causes a hospital visit), so take your time!
Tool-Specific Safety Measures 🛠️
Some might say that a DIY enthusiast is only as good as his or her tools, and while your skills certainly matter, knowing how to safely handle those tools is key. Here's some tool-specific advice:
- Power Drills: Keep your drill bits sharp. Dull bits can cause the tool to slip and potentially cause injury. Also, never leave a drill plugged in when not in use.
- Saws: Wear eye protection when using any type of saw. Hands and fingers should be kept away from the cutting path.
- Hammers: Yes, even the humble hammer can be a safety hazard. Always use a claw hammer for nails and avoid striking nails or other hard materials with the sides of the hammer.
With these measures in place, you'll be able to take on any DIY project with safety and confidence. Remember, your objective is to enhance your home, not your hospital bills. We know your crafting creations will shine – just make sure the only thing taking a beating is your project, not you!
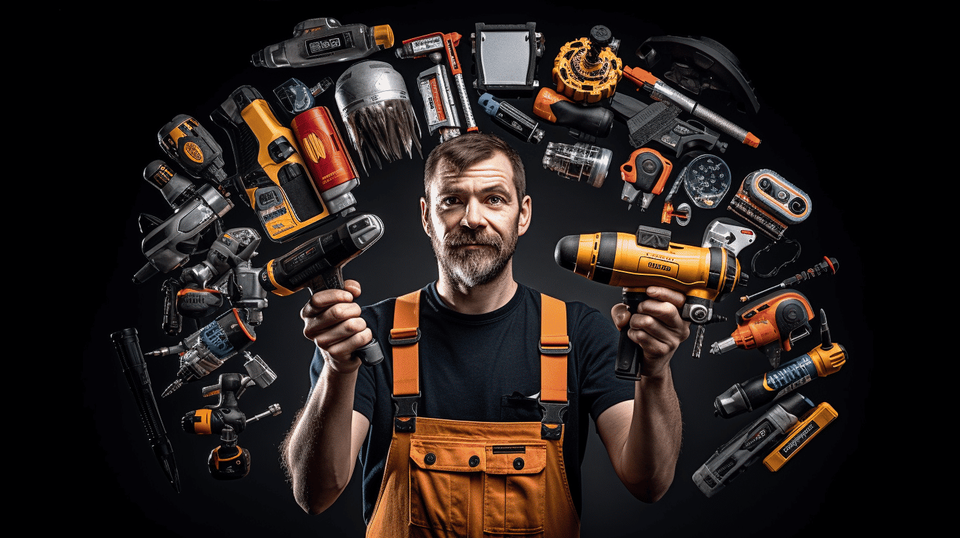
Enhancing Your DIY Skillset
Do-it-yourself—or DIY—is more than just a popular hashtag; it's a mantra for self-reliant individuals around the world. With the right attitude and the proper tools, most of us can tackle a variety of home improvement projects, from painting a room 🎨 to building custom furniture 🛠️. Not forgetting the added benefit of cost savings, alongside the immense satisfaction 💪 of creating something with one's hands!
Leveraging Cost-Effective Tools
Investing in the right DIY tools is like building a loyal team—it's the first step toward success. However, it doesn't have to be expensive. A basic toolkit should include 🔨:
- A tape measure for accurate measurements
- Hammer for those unavoidable nails
- Screwdriver set for all fittings and fixtures. Remember, the screwdriver's not just for screws anymore!
- Wrench set for all nuts and bolts
- Safety gear like gloves and goggles
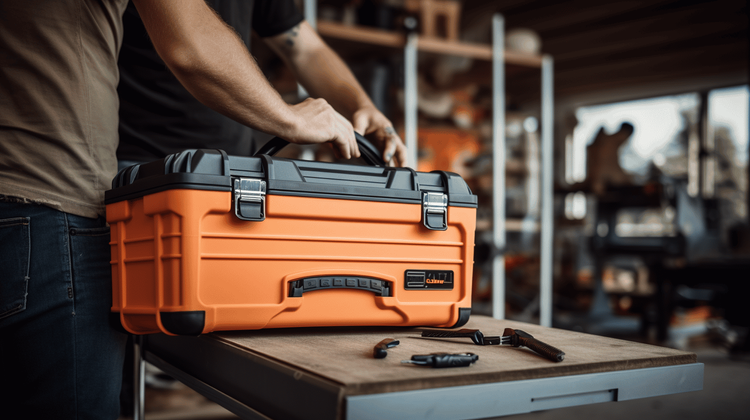
- Finally, a sturdy toolbox to store it all conveniently!
Remember, cost-effective doesn't mean cheap. It's about getting quality that will last, so opt for durability over a lower initial price tag.
Valuable Resources for Learning New Skills
So, you're armed with a toolkit and ready to start, but you're not quite sure what to do? Well, don't worry. Platforms like YouTube are filled with comprehensive videos by experienced DIY enthusiasts who'll guide you through the process. From painting tips to decking advice, you can learn anything these days!
However, sometimes you might desire more structured learning. This is where online academies come into play. Websites like "Online DIY Academy" can take you through step-by-step courses, providing valuable knowledge in a more professional format.
So what are you waiting for? Embark on the path to becoming a proficient DIY-er now! Remember, every expert was once a beginner. It's never too late to start learning. Whether you're a handyman hoping to polish your skills or a newbie dipping your toes in the DIY world—there's a treasure trove of know-how waiting for you in the realm of the internet. Happy DIY-ing! 😊
Building a Cost-Effective DIY Toolkit
Imagine this: You have just moved into your first home and you're feeling unstoppable. Suddenly, a loose screw on your door hinge brings your settling in process to a halt. Do you call for professional help for this minor job, or would you rather roll up your sleeves and handle the situation yourself? If you choose the second option, what you need is a well-equipped DIY (-do-it-yourself) toolkit. Here’s how to make one without breaking your bank.
How to Choose the Right Tool for the Task
Choosing the right tool for your task is like finding the right key for a lock 🔑 - it has to be an exact fit. It's not about having the most expensive tools, but rather selecting ones that suit your needs. Here are few tips to follow:
- Identify Your Needs: The first step is to identify the common tasks and repairs that you wish to undertake. This helps you find tools that are tailored to your specific needs. For instance, if you're a gardening enthusiast, pruning shears are a must-have in your toolkit.
- Quality over Quantity: It is better to invest in fewer high-quality tools than a plethora of subpar ones. Good quality tools last longer and provide more efficiency in work.
- Ease of use: Go for tools that you find easy and comfortable to use. Check the grip, weight, and functionality before buying.
Making a Toolbox Checklist 🗒️
Indeed, the right tools make a world of difference, but knowing exactly which tools to have can be a considerable challenge. Fear not! Here is a basic checklist to help you assemble your toolkit:
- Screwdrivers (Flathead and Phillips)
- Hammer 🛠️
- Tape measure
- Utility knife
- Pliers
- Wrench
- Cordless drill
- Safety Glasses and gloves
This list is just a starting point. Depending upon your specific needs, you might need to add more tools.
Budgeting for Your Toolkit 💰
Just like any major purchase, it's wise to establish a budget for your toolkit. Keep in mind the quality over quantity rule and try to spread out your purchases if needed. Start by acquiring the most essential tools and gradually add more as per your requirement and budget allotment. Remember, Rome wasn't built in a day, and neither will your toolbox be.
Building a DIY toolkit doesn't have to be an overwhelming or expensive task. With thoughtful planning, prioritizing, and budgeting, you can slowly but surely assemble a toolkit that will serve you for years to come. And the sense of accomplishment that comes with fixing things yourself? Priceless. So, get ready to roll up those sleeves and let the DIY journey begin!
Conclusion
Embracing the world of DIY with a cost-effective toolkit is not just about purchasing low-priced tools, but about investing in durable products that deliver value for your money. Each tool has its place and purpose, making it vital to understand their importance in your projects. Look for affordability while prioritizing durability and remember to consider the old adage: "buy cheap, buy twice."
We've also gleamed the importance of sustainable practices, mindful use, and the proper disposal of tools to prolong their lifespan and protect our environment. Safety measures are non-negotiable, ensuring your DIY hobby remains both fun and safe.
Also, remember to keep improving your DIY skillset. Leveraging cost-effective tools and harnessing valuable resources for learning skills are essential to nail every project. All in all, with the right tools in your kit, backed with knowledge and precaution, the world is your workshop.
Should you need to enhance your toolset, Ultra Handy's Bit Holder Keychain is a handy gadget that helps in organizing your screwdriver bits, making them easily reachable at all times. With these insights, we hope you feel empowered to build a cost-effective DIY toolkit that's not just for single use but would last you a lifetime.
Remember, the most resourceful tool is you, and we at Ultra Handy, aspire to assist you in succeeding in your DIY endeavors. Until next time, happy DIY-ing! 😊
Frequently Asked Questions
- What are some cost-effective tools for a DIY toolkit?Some cost-effective tools for a DIY toolkit include: 1. Multi-functional screwdriver set, 2. Adjustable wrench, 3. Utility knife, 4. Measuring tape, and 5. Cordless drill.
- How can I choose the right tools for my DIY toolkit?When choosing tools for your DIY toolkit, consider the tasks you frequently perform and the tools required for those tasks. Look for tools that are durable, versatile, and within your budget. Read reviews, compare prices, and consult with experienced DIYers for guidance.
- Are cheap tools worth buying?Cheap tools can be worth buying if they serve the purpose and are of decent quality. However, it's important to balance cost and quality. Avoid extremely low-quality tools that can break easily and compromise your safety. Invest in tools that offer a good balance of affordability and durability.
- Should I buy brand-name tools or generic ones?Brand-name tools often come with a higher price tag but are generally known for their quality and durability. However, some generic tools can offer good performance at a lower cost. Consider factors such as warranty, customer reviews, and reputation when deciding between brand-name and generic tools.
- Can I build a DIY toolkit without spending a lot of money?Yes, you can build a DIY toolkit without spending a lot of money. Start by prioritizing essential tools and gradually add more as needed. Look for deals, discounts, and second-hand options. Consider borrowing or renting tools for infrequently performed tasks to save additional costs.