The Ultimate Guide to Building Your DIY Toolbox on a Limited Budget

Welcome to the Ultimate Guide to Building Your DIY Toolbox on a Limited Budget! If you're someone who loves tackling do-it-yourself projects but is working with a tight budget, this guide is for you. We'll show you how to assess your DIY needs, set a budget, and gradually build a collection of essential tools without breaking the bank.
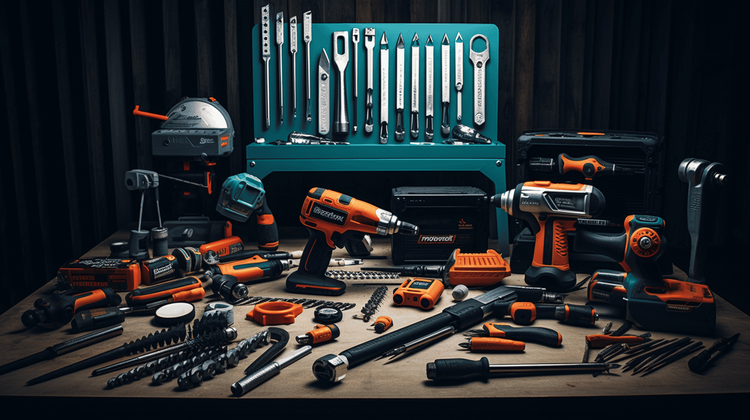
When it comes to DIY projects, having the right tools is crucial. They not only make your projects easier but also ensure that you achieve professional-looking results. However, buying all the tools you need upfront can be expensive. That's why we're here to help you navigate the process of building your DIY toolbox gradually, starting with the most essential tools.
Whether you're a seasoned DIY enthusiast or just getting started, this guide will provide you with valuable insights, tips, and resources to help you successfully complete your projects on a budget. So, grab a cup of coffee, sit back, and let's dive in!
Assessing Your DIY Needs
When it comes to building your DIY toolbox on a limited budget, it's important to assess your specific needs before making any tool purchases. By determining the scope of your DIY projects and identifying the essential tools required, you can make informed decisions and avoid wasting money on unnecessary items. Here's how you can assess your DIY needs effectively:
Determining Your DIY Projects
- Take some time to think about the type of projects you're most likely to undertake. Are you planning to do simple home repairs, furniture restoration, or more complex renovations?
- Consider the materials you will be working with. Will you primarily be working with wood, metal, or both? This will help you determine the specific tools you'll need to handle these materials.
- Make a list of the projects you plan to tackle in the near future. This will give you a clear idea of the tools you'll need to accomplish those tasks.
Identifying Essential Tools
Once you have a good understanding of your DIY projects, it's time to identify the essential tools that should be a part of your toolbox. While the specific tools may vary based on the nature of your projects, here are some common tools every DIYer should have:
Measuring and Marking Tools
- Tape Measure: Essential for taking accurate measurements.
- Combination Square: Useful for measuring and marking right angles.
- Level: Ensures your projects are straight and level.
Cutting and Shaping Tools
- Handsaw: Ideal for cutting wood.
- Hacksaw: Useful for cutting metal.
- Utility Knife: Versatile tool for cutting various materials.
Fastening Tools
- Claw Hammer: Great for driving nails and removing them.
- Screwdriver Set: Includes various types and sizes of screwdrivers.
- Cordless Drill: Essential for drilling holes and driving screws.
Hand Tools
- Pliers: Useful for holding, bending, and cutting wires.
- Adjustable Wrench: Allows you to tighten or loosen various sizes of nuts and bolts.
- Chisels: Used to chip or carve wood or metal.
Power Tools
- Circular Saw: Ideal for making straight cuts in wood and other materials.
- Jigsaw: Enables curved cuts in wood, plastic, and metal.
- Power Drill: Versatile tool for drilling holes and driving screws.
Remember, this is just a basic list to get you started. Depending on the complexity of your projects, you may need additional tools in the future. By assessing your DIY needs and identifying essential tools, you can prioritize your purchases and build a toolbox that caters to your specific requirements.
Setting a Budget
Setting a budget is an essential step in building your DIY toolbox on a limited budget. By determining how much you can afford to spend on tools, you can prioritize your purchases and make sure you don't overspend. Here are some tips for setting a budget for your DIY toolbox:
Determining Your Budget Limit
Before you start shopping for tools, take some time to evaluate your financial situation and determine how much you can realistically afford to spend on your DIY toolbox. Consider factors such as your income, existing expenses, and your DIY goals.
Prioritizing Tool Purchases
Once you have established your budget limit, it's important to prioritize your tool purchases. Begin by identifying the essential tools that are necessary for most DIY projects. These tools will form the foundation of your toolbox. After that, you can gradually expand your collection as your budget allows.
To prioritize your tool purchases, consider factors such as:
- The frequency with which you will use the tool
- The versatility of the tool (if it can be used for multiple projects)
- The potential savings it can bring (if it eliminates the need to hire a professional)
By prioritizing your tool purchases, you can make sure that you invest in the most essential tools first, and gradually add more specialized tools as you gain experience or take on more complex projects.
"Setting a budget not only helps you avoid overspending, but it also ensures that you are making smart purchasing decisions based on your needs and priorities."
Must-Have Tools for Every DIYer
If you're an avid DIYer or just starting out, having the right tools can make all the difference in the success of your projects. While there are countless tools out there, it's important to focus on the essentials that will serve you well in a variety of tasks. Here are some must-have tools that every DIYer should consider adding to their toolbox:
1. Measuring and Marking Tools
Accurate measurements are crucial in DIY projects to ensure precise cuts and placements. Some essential measuring and marking tools include:
- Tape Measure: Perfect for measuring distances, lengths, and widths.
- Combination Square: Useful for measuring and marking 90-degree angles and straight lines.
- Carpenter's Pencil: Ideal for marking cut lines on wood or other materials.
2. Cutting and Shaping Tools
To tackle a range of DIY projects, you'll need tools for cutting and shaping materials. Here are a few essential tools to consider:
- Circular Saw: Great for making straight cuts in various materials, such as wood and plywood.
- Jigsaw: Ideal for making curved or intricate cuts in wood, plastic, or metal.
- Utility Knife: Handy for cutting materials like carpet, insulation, or drywall.
3. Fastening Tools
When it comes to joining materials together, having the right fastening tools is essential. Here are a few tools to consider for your DIY projects:
- Hammer: A versatile tool for driving nails, removing nails, or tapping objects into place.
- Screwdriver Set: A set of different screwdrivers (Phillips, flathead, etc.) will come in handy for various fastening tasks.
- Cordless Drill: An essential power tool for drilling holes and driving screws efficiently.
4. Hand Tools
No DIY toolbox is complete without a collection of useful hand tools. Here are a few essentials to have on hand:
- Pliers: A versatile tool for gripping, cutting, and bending wires or holding small objects.
- Adjustable Wrench: Perfect for turning nuts, bolts, and fittings of different sizes.
- Level: Essential for ensuring your projects are straight and level.
- Chisel Set: Useful for smoothing or shaping wood or cutting out notches.
- Sanding Block: Great for smoothing rough surfaces or sanding edges.
5. Power Tools
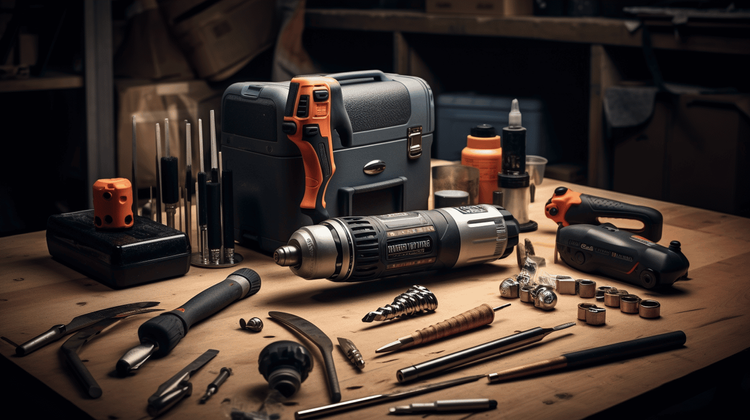
While not everyone may have access to a full arsenal of power tools, these tools can significantly speed up your DIY projects. Here are a few power tools that are worth considering:
- Power Drill: A versatile tool for both drilling and driving screws. Look for one with variable speeds and a good battery life.
- Cordless Reciprocating Saw: Ideal for cutting through various materials like wood, plastic, or metal.
- Random Orbital Sander: Great for quickly sanding large surfaces or refinishing furniture.
Remember, it's important to choose tools that suit your specific DIY needs and projects. Start with the essentials and gradually expand your collection as you take on more advanced projects.
Pro Tip: Investing in quality tools from reputable brands may cost more upfront, but they are often more durable and provide better performance, ultimately saving you money in the long run.
So, now that you have an idea of the must-have tools for every DIYer, it's time to start building your toolbox gradually. In the next section, we'll explore how to do that while sticking to a limited budget.
Building Your Toolbox Gradually
As a DIY enthusiast, building your toolbox is an exciting journey, and it doesn't need to happen overnight. By starting with a few basic tools and gradually expanding your collection, you can save money while still having everything you need to tackle a variety of projects. Here's how you can build your toolbox gradually without breaking the bank:
Starting with Basic Tools
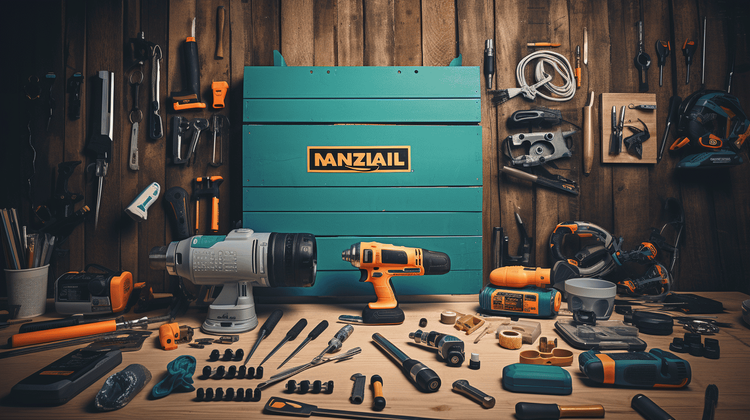
When you're just getting started with DIY projects, it's essential to have a few basic tools that will serve as the foundation of your toolbox. Here are some must-have basic tools to begin with:
- Hammer: A versatile tool for driving nails and removing them when necessary. Opt for a claw hammer as it has a built-in nail-pulling mechanism.
- Screwdriver Set: Choose a set with interchangeable flathead and Phillips head screwdriver tips. This will enable you to tackle various screw types and sizes.
- Adjustable Wrench: This wrench is a jack-of-all-trades and can be used for tightening or loosening bolts and nuts of different sizes.
- Pliers: Invest in a pair of slip-joint pliers for grabbing and holding objects securely. They're great for various tasks, such as bending wires or removing nails.
- Tape Measure: Essential for measuring accurately and ensuring your DIY projects have the right dimensions.
Expanding Your Tool Collection
Once you have the basic tools, it's time to gradually expand your toolbox with tools that you'll need for specific projects. Here are some ideas for expanding your collection:
- Level: A level is crucial for ensuring your shelves, pictures, and other installations are straight and balanced. Consider getting both a small torpedo level and a longer one for larger projects.
- Utility Knife: Useful for cutting materials like cardboard, carpet, or drywall. Look for a knife with a retractable blade for safety and ease of use.
- Cordless Drill: A cordless drill is incredibly handy for drilling holes and driving screws. Look for one with variable speed settings and multiple chuck sizes for versatility.
- Saw: Depending on the type of projects you usually undertake, you may need a saw. Consider a circular saw for general cutting tasks or a hacksaw for cutting metal.
- Clamps: Clamps are essential for holding materials in place during gluing, soldering, or painting. Start with a few different sizes, including quick-release clamps and bar clamps.
Remember, building your toolbox gradually allows you to save money and invest in higher-quality tools as you go along. Don't feel the pressure to buy everything at once. Instead, focus on the tools you need for your current projects and gradually add to your collection over time.
"Building your DIY toolbox is like putting together a puzzle. Each tool you add fills a specific need in your projects, and overtime, you'll have a complete set that empowers you to handle any DIY task."
Where to Find Affordable Tools
Building your DIY toolbox on a limited budget doesn't mean you have to sacrifice quality. There are plenty of places where you can find affordable tools without breaking the bank. Here are some options:
Hardware Stores
Hardware stores are a great place to start your search for affordable tools. They often have a wide selection of tools at various price points, so you can choose the ones that fit your budget. Look out for sales and discounts, as well as store-brand options, which are usually more affordable than name brands while still being reliable.
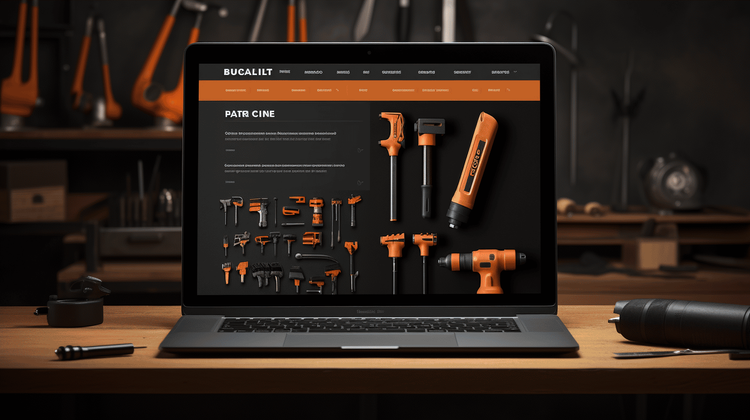
Online Marketplaces
Online marketplaces like Amazon and eBay can be treasure troves for affordable tools. You can find both new and used tools at discounted prices. Make sure to read reviews and check the seller's reputation before making a purchase. Pay attention to shipping costs, as they can add up significantly, especially for heavier tools.
Garage Sales and Thrift Shops
One person's trash can be another person's treasure. Garage sales and thrift shops are often full of hidden gems when it comes to tools. You can find used tools in good condition at incredibly low prices. Keep an eye out for community yard sales or visit your local thrift shops regularly. Don't forget to haggle – you might be able to snag an even better deal.
Online Classifieds
Check out online classified platforms like Craigslist or Facebook Marketplace. Many individuals sell their used tools directly to other DIY enthusiasts, often at lower prices than you would find at a traditional store. Exercise caution when meeting with sellers and be sure to inspect the tools thoroughly before completing the transaction.
Tool Rental Services
If you have a project that requires a specialized tool that you don't plan on using frequently, consider renting instead of buying. Many tool rental services offer affordable daily or weekly rates. This can save you money in the long run, especially if you only need the tool for a short period of time.
Remember, while it's important to find affordable tools, quality should never be compromised. Invest in tools that are built to last, even if they cost a bit more upfront. High-quality tools will save you money in the long run by reducing the risk of accidents or having to replace tools frequently.
"Finding affordable tools doesn't have to be a daunting task. With a little bit of research and flexibility, you can build your DIY toolbox on a limited budget without sacrificing quality."
Maintaining and Extending Tool Lifespan
Taking care of your tools is essential if you want to extend their lifespan and get the most value out of your investment. Proper maintenance and storage will not only keep your tools in good working condition but also ensure your safety while using them. Here are some tips to help you maintain and extend the lifespan of your DIY tools:
- Clean after each use: After using your tools, make sure to clean them properly before putting them away. Remove any dust, dirt, or debris from the surface and moving parts. Use a brush, cloth, or compressed air to clean hard-to-reach areas. Cleaning your tools regularly will prevent the accumulation of dirt, which can cause corrosion or clog moving parts.
- Remove rust: Rust can be a common issue, especially if your tools are exposed to moisture or stored in a damp environment. To remove rust, use a wire brush or sandpaper to scrape it off. You can also soak rusty tools in vinegar or a rust-removing solution to dissolve the rust. After removing the rust, apply a thin layer of oil or lubricant to prevent further rusting.
- Lubricate moving parts: Moving parts of your tools, such as hinges or joints, should be lubricated regularly to ensure smooth operation. Apply a few drops of oil or silicone lubricant to the moving parts and work them back and forth to distribute the lubricant evenly. Lubricating your tools will prevent friction, reduce wear and tear, and keep them functioning properly.
- Store properly: Proper storage is crucial in maintaining the lifespan of your tools. Keep them in a clean, dry, and well-ventilated area, away from moisture and extreme temperatures. Hang your tools on a pegboard or store them in a toolbox or cabinet with compartments to prevent them from getting damaged or lost. Use protective cases or covers for power tools to avoid dust accumulation and accidental damage.
- Sharpen blades and cutting tools: Sharp blades and cutting tools not only make your work easier but also reduce the risk of accidents. Regularly check the sharpness of your blades and sharpen them using a sharpening stone or file if needed. Properly sharpened tools not only give you clean and precise cuts but also put less strain on the tool itself.
- Inspect for wear and damage: Regularly inspect your tools for any signs of wear, damage, or loose parts. Check the handles, cords, and connections for any cracks or fraying. If you notice any issues, repair or replace the damaged parts immediately. Using damaged tools can be dangerous and can further damage the tool itself.
Remember, maintaining and extending the lifespan of your tools is not only about saving money but also about ensuring a safer and more efficient DIY experience. By following these maintenance tips, you can keep your tools in top shape and enjoy many successful projects ahead. So, take the time to care for your tools, and they will serve you well for years to come!
"Taking care of your tools is like taking care of a good friend - it ensures their longevity and reliability."
Safety Tips for DIYers
When it comes to DIY projects, safety should always be your top priority. Working with tools and materials can pose risks if proper precautions are not taken. Here are some important safety tips to keep in mind while working on your DIY projects:
1. Wearing Protective Gear
Protective gear can provide an extra layer of safety and prevent injuries while working on your DIY projects. Make sure to wear the following gear:
- Safety goggles or glasses: These protect your eyes from flying debris, dust, and harmful chemicals.
- Gloves: Wear gloves to protect your hands from cuts, burns, and splinters.
- Ear protection: If you're working with noisy power tools, wear earplugs or earmuffs to protect your hearing.
- Respirator or mask: When working with paints, solvents, or chemicals that produce fumes, wear a respirator or mask to avoid inhaling harmful substances.
- Safety footwear: Invest in sturdy shoes or boots with slip-resistant soles for better traction and protection against falling objects.
2. Working in a Well-Ventilated Area
Many DIY projects involve the use of paints, adhesives, and other chemicals that can release harmful fumes. It's crucial to work in a well-ventilated area to avoid inhaling these fumes. If you're working indoors, open windows and doors, and use fans or exhaust systems to improve air circulation.
3. Using Tools Correctly
Using tools incorrectly can lead to accidents and injuries. Here are some tips to ensure safe tool usage:
- Read the manual: Always read and understand the user manual for each tool before using it. Familiarize yourself with its features, safety guidelines, and recommended usage.
- Inspect tools before use: Check your tools for any damage or wear before using them. Faulty tools can be dangerous and should be replaced or repaired.
- Use the right tool for the job: Don't try to make do with the wrong tool. Using the correct tool for the task at hand will ensure better results and reduce the risk of accidents.
- Keep a firm grip: When using hand tools or power tools, make sure to have a firm grip for better control and stability.
- Never leave tools unattended: Always turn off power tools and unplug them when you're not using them. It's also important to store them in a safe place out of the reach of children.
Remember, accidents can happen even if you take all the necessary precautions. It's important to have a first aid kit readily available in your workspace to treat minor injuries. Additionally, always have a phone nearby in case of emergencies.
By following these safety tips, you can enjoy your DIY projects while minimizing the risk of accidents and injuries.
DIY Resources and Learning Platforms
When it comes to improving your DIY skills and expanding your knowledge, there are plenty of resources and learning platforms available online. Whether you prefer watching videos or reading articles, there's something for everyone. Here are some popular DIY resources and learning platforms that can help you on your DIY journey:
- Online DIY Communities: Joining online DIY communities is a great way to connect with fellow DIY enthusiasts and learn from their experiences. These communities often have forums where you can ask questions, share your projects, and get advice from experienced DIYers. Some popular online DIY communities include:
- DIY Network: DIY Network is a website where you can find a wide range of DIY projects, tips, and tutorials. They have an active community forum where you can interact with other DIY enthusiasts and seek advice.
- Instructables: Instructables is a platform where users can share step-by-step guides for various DIY projects. You can find projects ranging from woodworking to electronics and everything in between.
- Reddit's DIY subreddit: Reddit's DIY subreddit is a community where you can find DIY project ideas, share your own projects, and get feedback from other DIYers.
- YouTube Tutorials: YouTube is a treasure trove of DIY tutorials and project ideas. There are countless channels dedicated to DIY, offering detailed instructions and tips for various projects. Some popular DIY YouTube channels include:
- DIY Creators: This channel provides tutorials on woodworking, home improvement, and other creative projects. The host, Glen, explains the steps in a clear and concise manner.
- Home Repair Tutor: Jeff, the host of this channel, focuses on home repair and DIY plumbing tutorials. He breaks down complex tasks into easy-to-understand steps.
- Bob Vila: Bob Vila's YouTube channel features a mix of DIY projects, home improvement tips, and renovation advice. His videos are informative and entertaining.
- Books and Magazines: If you prefer learning from written materials, there are various books and magazines available that cover a wide range of DIY topics. Some popular DIY books and magazines include:
- "The Complete Do-It-Yourself Manual" by Popular Mechanics: This book covers a wide range of DIY projects and techniques, from basic repairs to advanced woodworking.
- "Family Handyman" magazine: This magazine provides DIY tips and project ideas for homeowners. It covers topics such as home improvement, woodworking, and gardening.
- "Black & Decker The Complete Photo Guide to Home Repair" by Black & Decker: This comprehensive guide covers home repairs, maintenance, and improvement projects with detailed step-by-step instructions and photos.
Remember, learning is a continuous process, and these resources are just a starting point. As you gain more experience and confidence, you can explore other platforms and resources that cater to your specific DIY interests. So, grab your tools, dive into the world of DIY resources, and let your creativity shine!
Conclusion
Conclusion
Building your DIY toolbox on a limited budget doesn't have to be a daunting task. By assessing your DIY needs, setting a budget, and slowly building your tool collection over time, you can create a well-equipped toolbox without breaking the bank. Remember to prioritize essential tools and take advantage of affordable options like hardware stores, online marketplaces, and garage sales.
Maintaining and extending the lifespan of your tools is crucial to getting the most out of your investment. By properly cleaning and storing your tools and conducting regular maintenance, you can ensure they last for years to come.
Remember to always prioritize safety when working on your DIY projects. Wear protective gear, work in well-ventilated areas, and use tools correctly to avoid accidents and injuries.
There are plenty of online resources and learning platforms available to help you improve your DIY skills. Join online DIY communities, watch YouTube tutorials, and read books and magazines to enhance your knowledge and gain inspiration for your projects.
At Ultra Handy, we understand the importance of having the right tools to tackle your DIY projects. Visit our eCommerce Amazon store for a wide range of high-quality tools that will help you succeed in your DIY endeavors. From measuring and marking tools to power tools and hand tools, we have everything you need to build your dream toolbox.
Start building your DIY toolbox today, and let your creativity shine through your own handy work. Embrace the satisfaction of completing projects with your own two hands, and experience the joy of creating something from scratch. Remember, with the right tools and a limited budget, there are no limits to what you can achieve. Happy DIYing!
Frequently Asked Questions
- What are the essential tools that I should include in my DIY toolbox?Some essential tools that you should include in your DIY toolbox are a hammer, screwdriver set, adjustable wrench, pliers, tape measure, utility knife, level, and a set of basic power tools like a drill and a jigsaw.
- Can I build a DIY toolbox on a limited budget?Yes, you can definitely build a DIY toolbox on a limited budget. Look for deals and discounts on tools, consider buying used tools, borrow from friends or family if possible, and prioritize buying the most essential tools first.
- What are some cost-effective alternatives for expensive tools?If you're on a limited budget, you can consider some cost-effective alternatives for expensive tools such as using a manual hand saw instead of a miter saw, using a paintbrush instead of a paint sprayer, or using a cordless drill instead of a more expensive corded drill.
- How do I organize my DIY toolbox effectively?To organize your DIY toolbox effectively, consider using dividers or compartments within the toolbox to separate and categorize different types of tools. Labeling the sections can also make it easier to identify and locate specific tools.
- Are there any safety precautions I should take while using my DIY toolbox?Yes, safety should always be a priority when using tools. Ensure that you wear appropriate protective gear such as safety goggles, gloves, and ear protection. Follow the instructions provided with each tool and take necessary precautions to avoid accidents or injuries.